Head back to www.alanthomsonsim.com and log into your account. You should then be redirected to the developers area.
*If for some reason you are not automatically redirected then you can access the developer area at any time from toolbar at the top of the site once you are logged in.
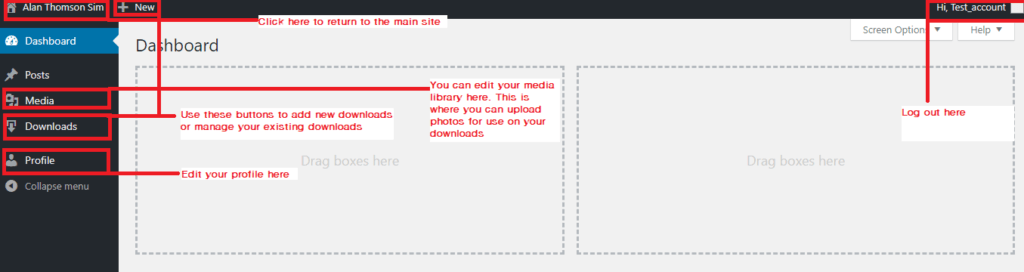
Once in the developer area you will be greeted with the home page. From here you can change settings on your account, create product listings and much more.
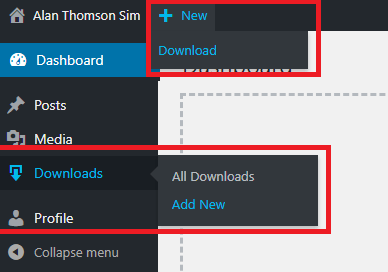
To continue adding a new product, select either of the two options to add a product. Either the “+Add” icon at the top of the page or by going to “Downloads > Add New”
You will then be taken to the product creation page. Here you can edit all the settings required for the new product as well as adding the full listing and images.
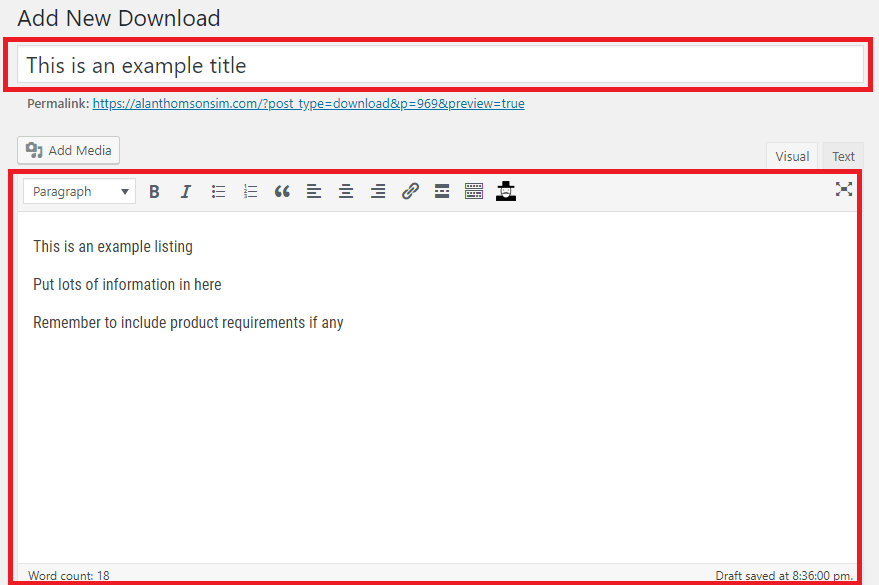
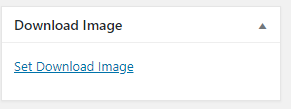
Remember to set the product category and set an image to be used as the main product image

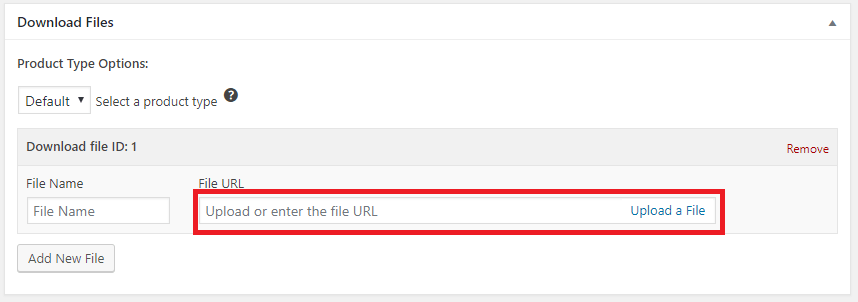
You can then set the file to be downloaded with the product. There is the option to add multiple files to the product.
In the File URL box paste the link you got from the end of step 1. This is the link from your own file host server. DO NOT try and upload the file to be downloaded here
If you wish to participate in the subscription payback part of the site and be eligible for the benefits that brings then set the files content restriction settings. Find out more here
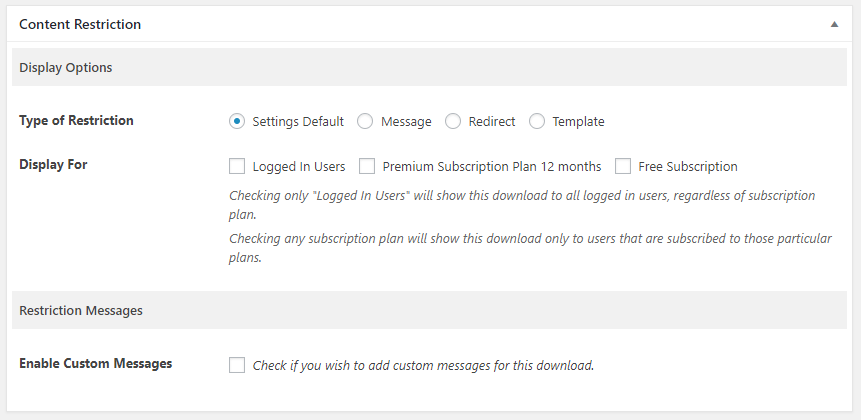
The settings are explained below;
– To allow any user to view and download your file, do not change any setting.
– To allow only people with the annual subscription access to the download check the “Premium subscription 12 months” box ONLY
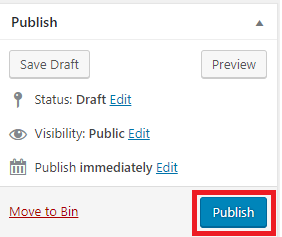
Finally, you can publish the download – you can also delay the publishing or save it as a draft to come back to later. Please note, drafts older than 14 days are automatically deleted.
Next – Step 3 – Adding advanced options >>>>
Previous – Step 1 – Uploading a file <<<<